Release Notes for 7.16.2016
bCEnroll
Decision Support
- The recommendation for a benefit that was always displaying irrespective of if the benefit was truly recommended, has been corrected.
- Question and Answer videos can now be displayed as text only.
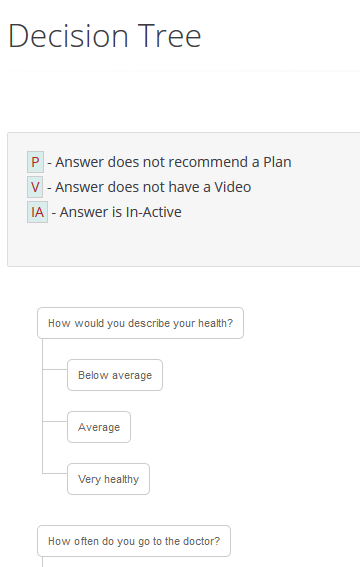
- Admin portal will show a Decision Tree in place of the Decision Support List.
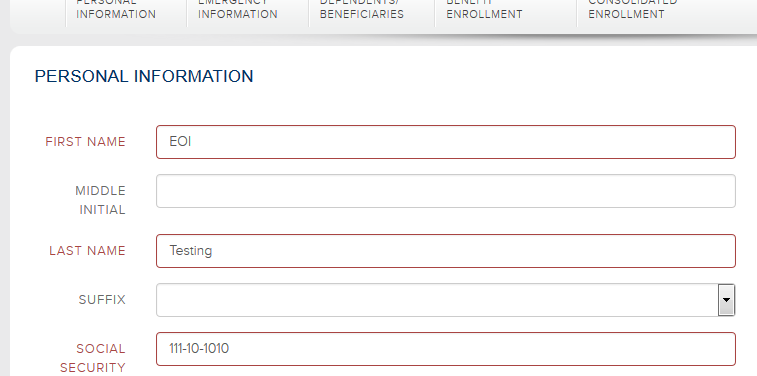
Functionality added to force the employee to change password upon initial login.
Admin portal allows internal bC users to upload and name provider logos.
Avatar functionality has been extended to the admin portal, so that internal bC users have the ability to manage content.
Video functionality extended to the admin portal, so that internal bC users have the ability to manage content.
Tobacco question changed to "Do you currently use any tobacco products?"
benefitsCONNECT® agencyMANAGER (bCaM)
Custom Benefit Plan rates can be mapped to a carrier region. This means that bCaM can dynamically select a custom rate based on the employee's zip code.
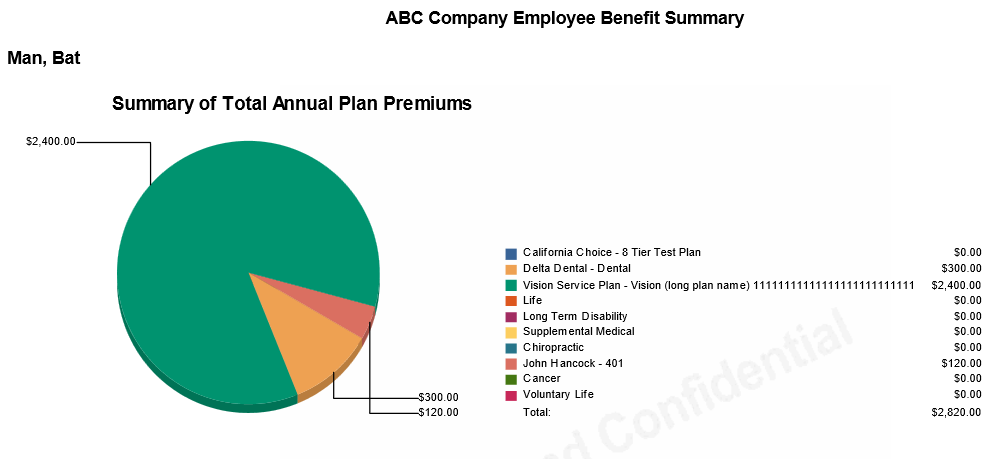
Hidden Paycheck and the Employee Benefit Summary report now include pie charts providing a visual breakdown of plan premiums and employer compensation.
Resolved an issue where some users received an error while exporting reports.
Contribution rate administration has been updated to allow users to select flat dollar amounts or percentages, or both.
Fixed formatting on the Employee Benefit Summary report that would cause dependent information to be truncated.
Custom Benefit Plan rates can be imported with an Excel document. Below are the instructions for completing this process:
bCaM Rate Import Process
- Select the appropriate group and click on the “Benefit Plans” tab.
- When adding an active custom benefit plan, select the appropriate rate type.
- After you’ve completed the setup for the benefit plan, you will select the appropriate plan from the list of active benefit plans.
- Mid-way through the selected benefit plan, you will see a Rate Import option, as seen below:

- During the rate import process, you will first generate the rate template spreadsheet (unless you already have an existing spreadsheet). Once you’ve retrieved the rate template you will fill in the necessary fields, save the file and import the rates into the system.
- To import the rates click on the “Import Rates” button. This will populate the required data fields, outlined in the image below.
- Enter a value within the “Rate Name” and “Effective Date” fields.
*Please note, you may add additional regions as needed. Regions may be added by clicking on the "Add Rate" option listed below the "Effective Date". If you have a spreadsheet that corresponds to the respective rate type you may upload the spreadsheet without generating a new one.
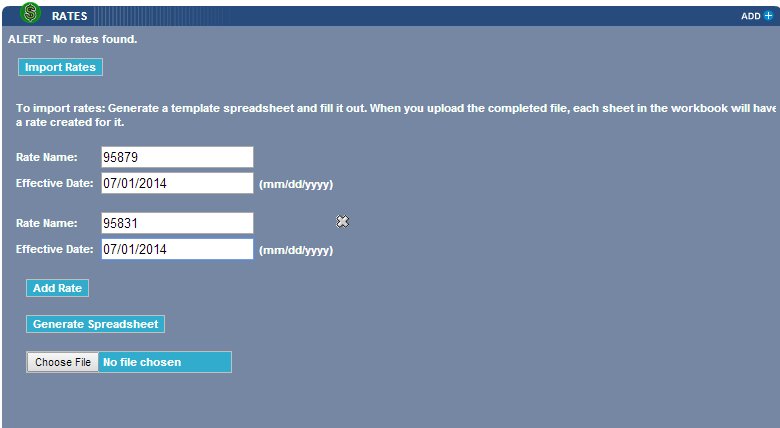
- Once you’ve entered the various rate names and corresponding effective dates, click on the “Generate Spreadsheet” button. This will open an Excel file with the respective format at the bottom of your browser.
- Open the Excel file and enter the applicable rates in the “Rate” column. You may also copy and paste this information from an existing file.
- After you’ve prepared your rate file for import, depending on the browser you are using click the “Choose File” or “Browse” option.
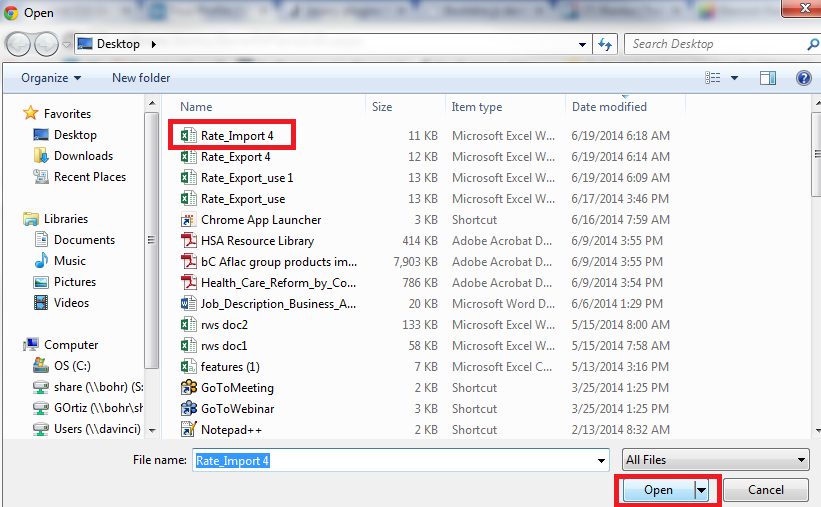
A new window will popup allowing you to access your files (see below). After you’ve selected the appropriate file from your desktop and clicked “open” the file will appear in the folder menu as the selected file.

- Click the "Upload" button, to import the rates.

- Once the rates are imported, you will be redirected to the benefit plan, main page, as seen below; in order to review or edit the rates, click on the plan for which the rates were imported.

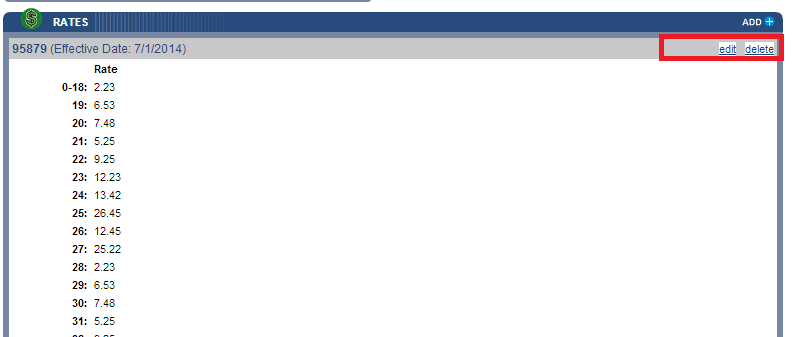
- After you’ve selected the desired plan, you will see the imported rates. At this point you can edit, modify or delete the rates using the buttons outlined below.
benefitsCONNECT®
“Legal Guardianship” child type has been added to the system and is available for use.
The View Plan Summary had an incorrect spelling for the word “Dependent” in the “Dependent Life” field, this error has been corrected.
User administration email, has been corrected to reflect the current Client Support phone number.
Updated less than a minute ago
