Benefit/Page Customizations
- Login to benefitsCONNECT® through https://enroll.benefitsconnect.net
- Select company you wish to update.
- Click on Setup & Configuration, and from the drop-down menu select Page Customizations.
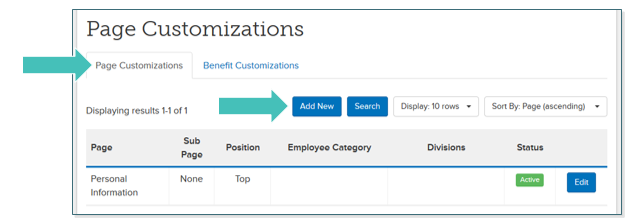
- You can customize a specific Benefit Page or Customize a Page. For this example, we will customize a page.
- Select the Page Customizations tab.
- Click Add New.

- Use the dropdown menu under Page to select the page you would like to customize.
- Use the dropdown menu under Position to select the location of the customized verbiage: at the top or bottom of the page.
TIP: If you choose the Welcome Page, you will not have the option to select the Position.
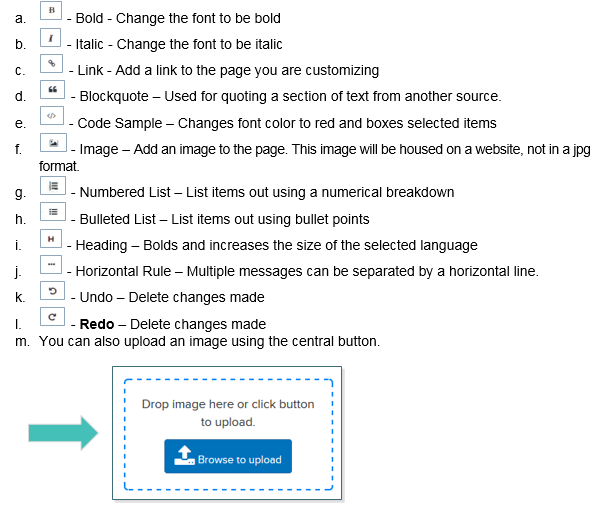
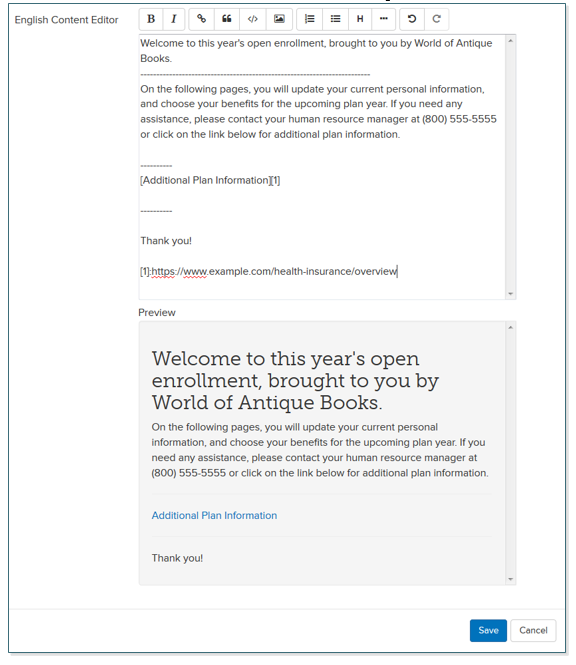
- Make your customization under Add Page Customization

- Under Preview, you can review how your message will appear to employees. In this example, Header, Horizontal Line and Link was used to edit the message.

- Click Save.
Updated less than a minute ago
